Making Custom Galaxy Rangers Figures
by @Marienro2
Originally posted November 24, 2019
Note: This article was originally written by @Marienro2, in spanish, for BetaMountain.org's 20th anniversary. With the popularity of customizing toys still on the rise, it seemed fitting to showcase a couple of fan-made Galaxy Ranger creations and below Marienro2 shows some of the work she went through in creating not one, but two different full custom lineups of figures! If you have your own custom figures that you would like us to showcase, contact us by email or on Twitter!
|
|
|
|
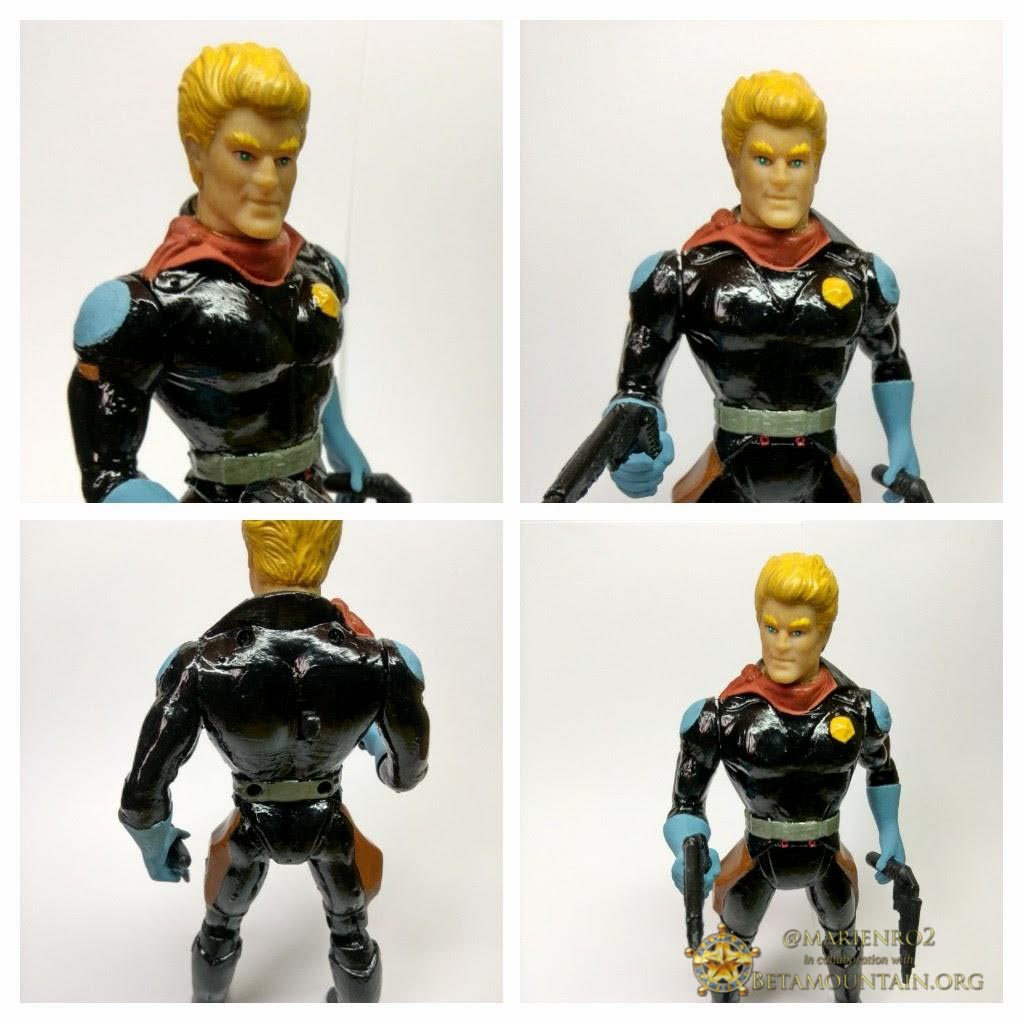
Well the first thing to be clear about is what are the differentiating characteristics of each character: this will be what makes our figure resemble the real character. It will never be the same as the original character: you have to adapt to the “base” figure and make a custom as similar as possible. You have to start choosing the most complicated figure to find; then we will have to look for the other characters in similar figures that we have already chosen: from the same group, same team, same series ... (height, dimensions, body position ...).
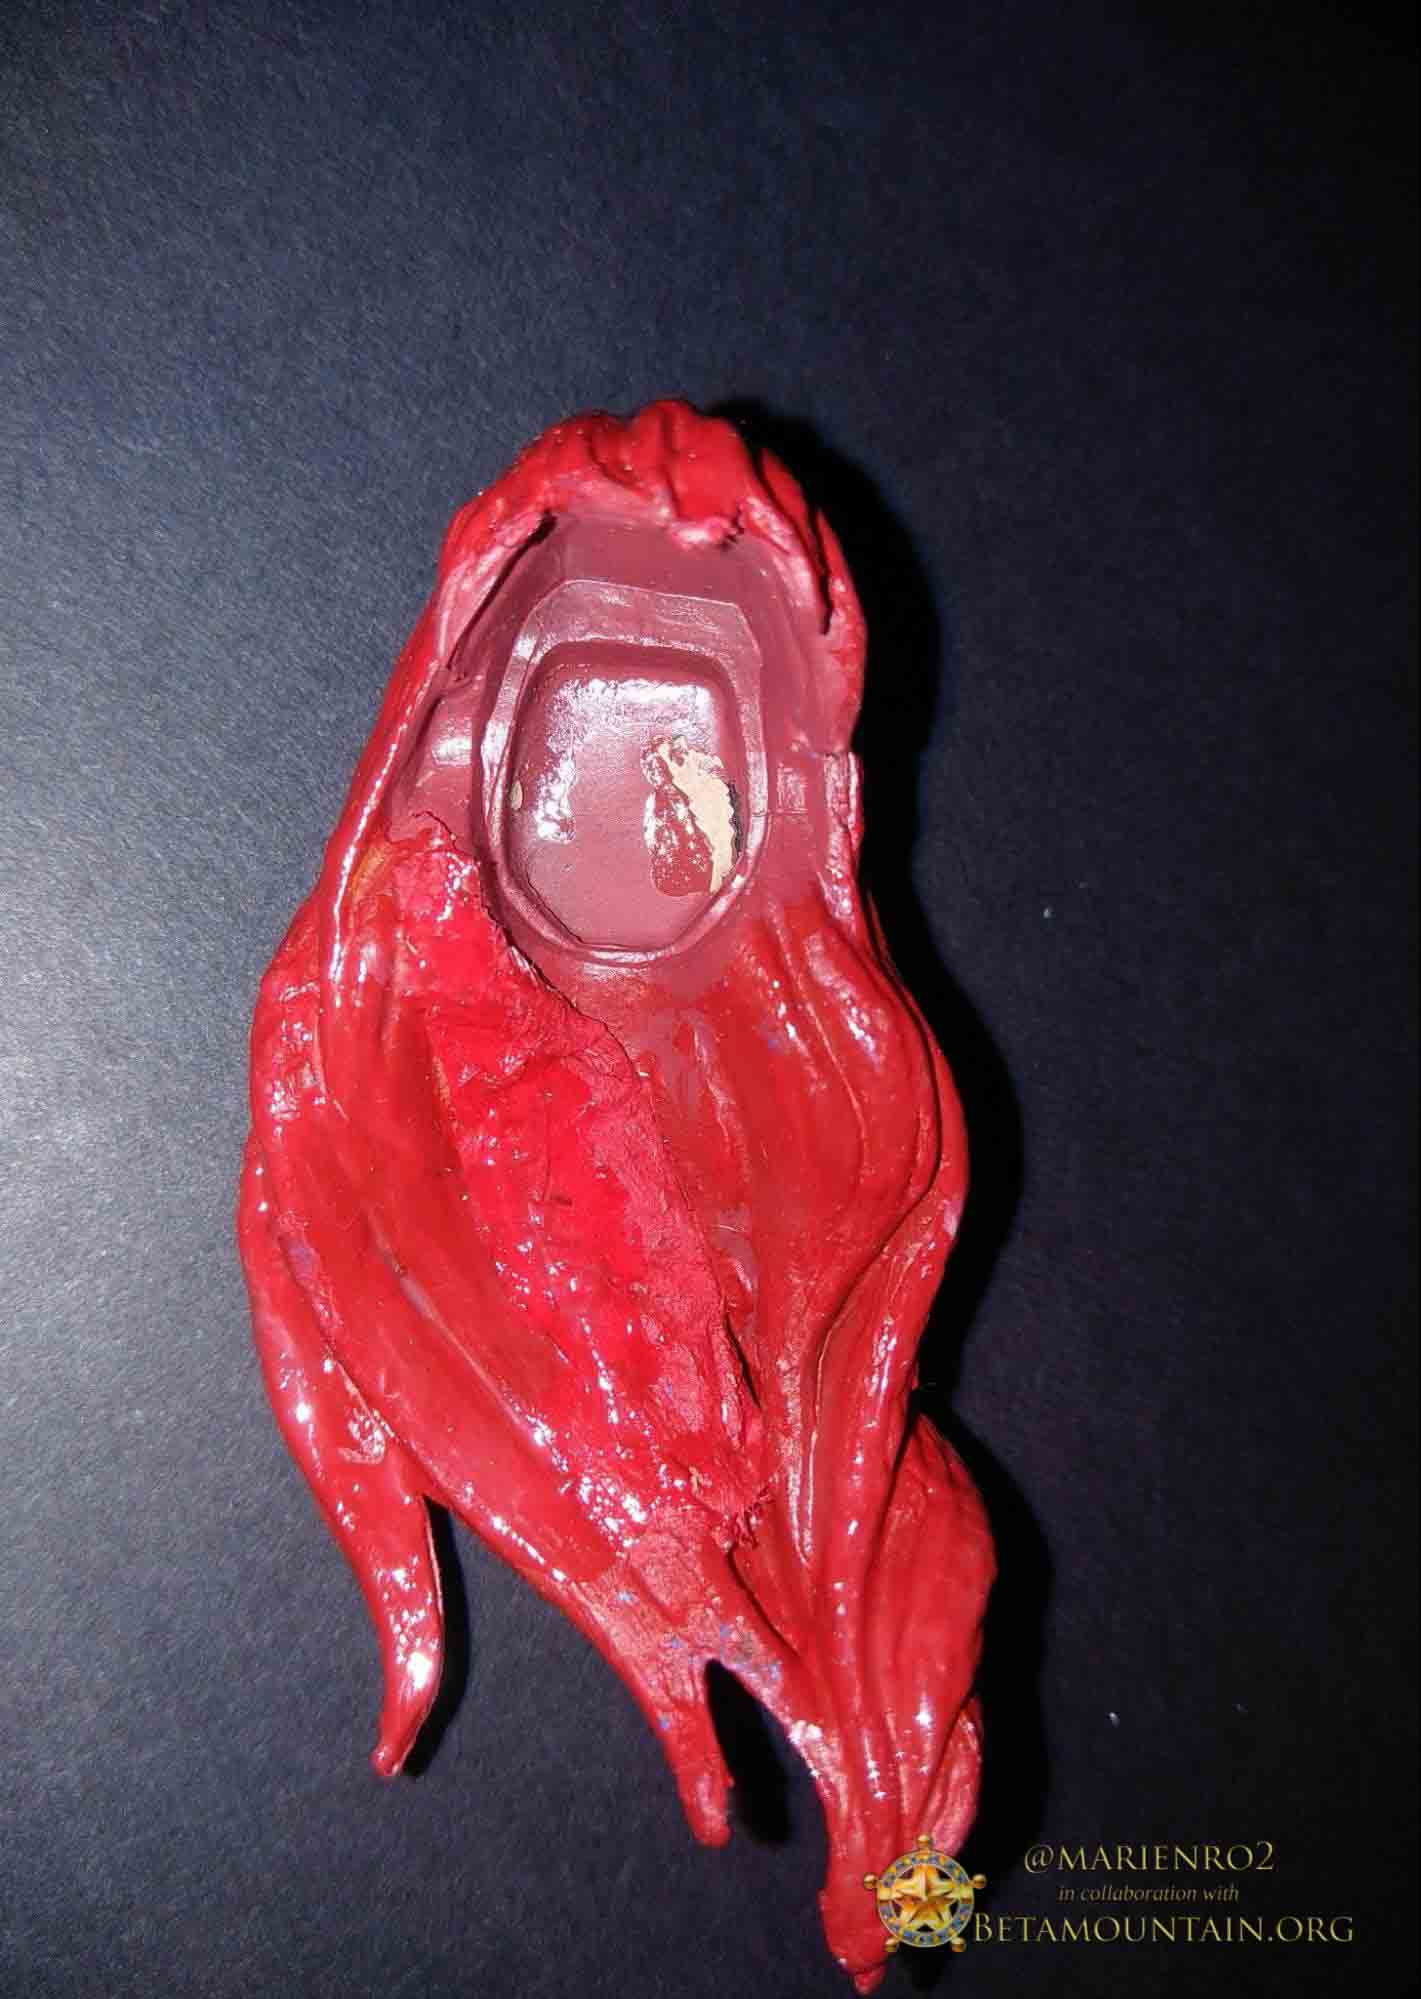
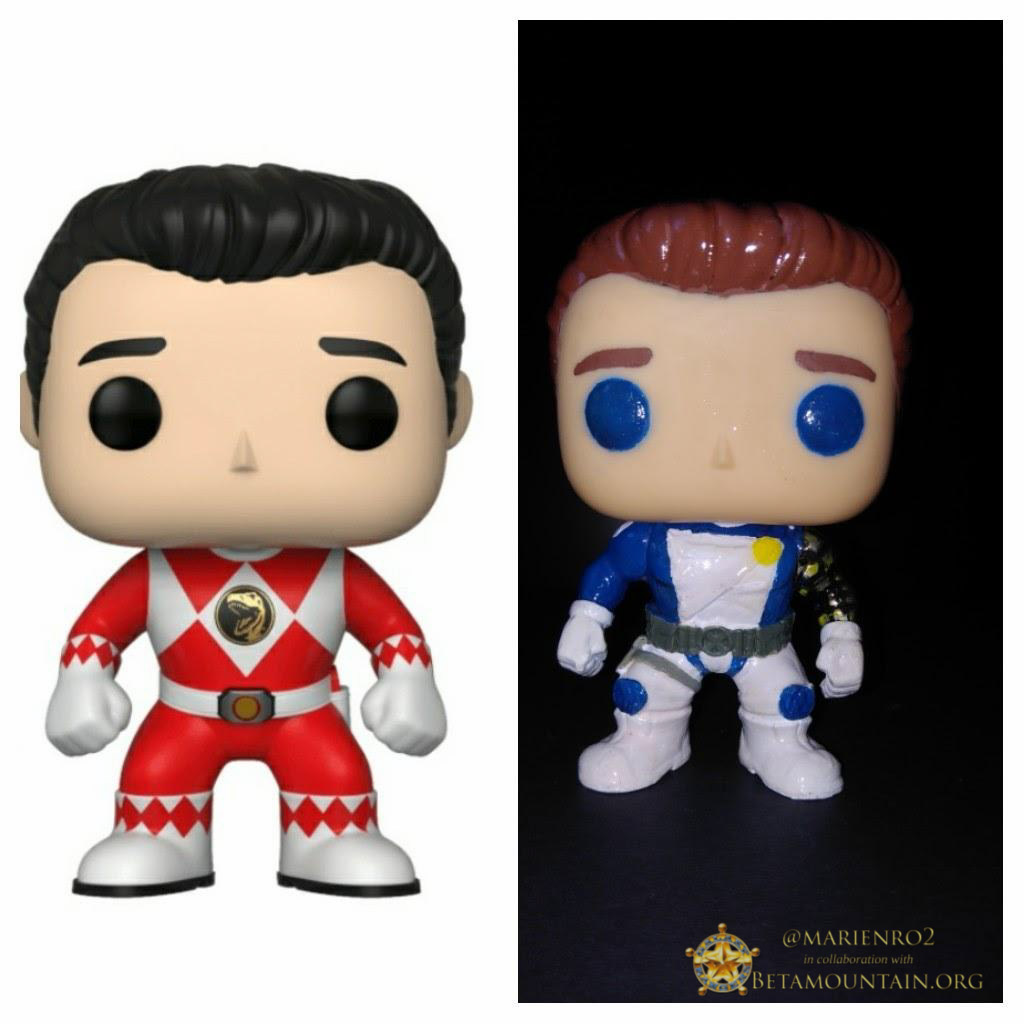
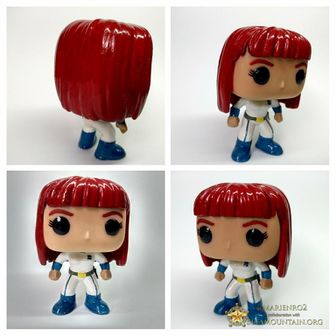
I started with Niko, or rather with Niko's bangs because there are many kinds of bangs: this one must be long and straight. Why did I start with the bangs? Because in thefigure Niko that I made to complete the Galaxy Rangers Series 5 team, I had to modify the bangs of the “base” figure by putting kitchen paper and giving it the ideal shape, and then sticking it to the original bangs.
I also had to put it on the back and inside of the head because that figure did not have much volume of hair and the hair was very separate from the body. When painting it after red ... it is almost not appreciated.
|
|
|
|
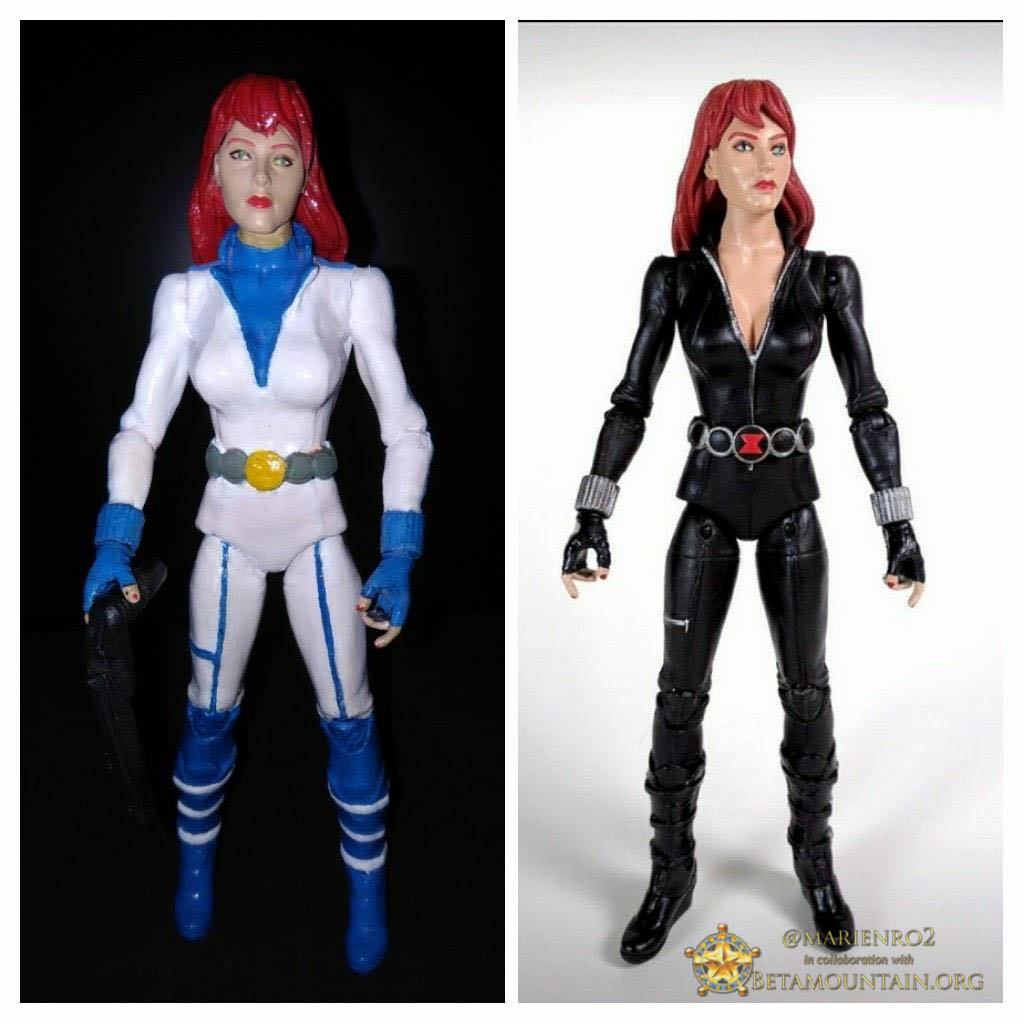
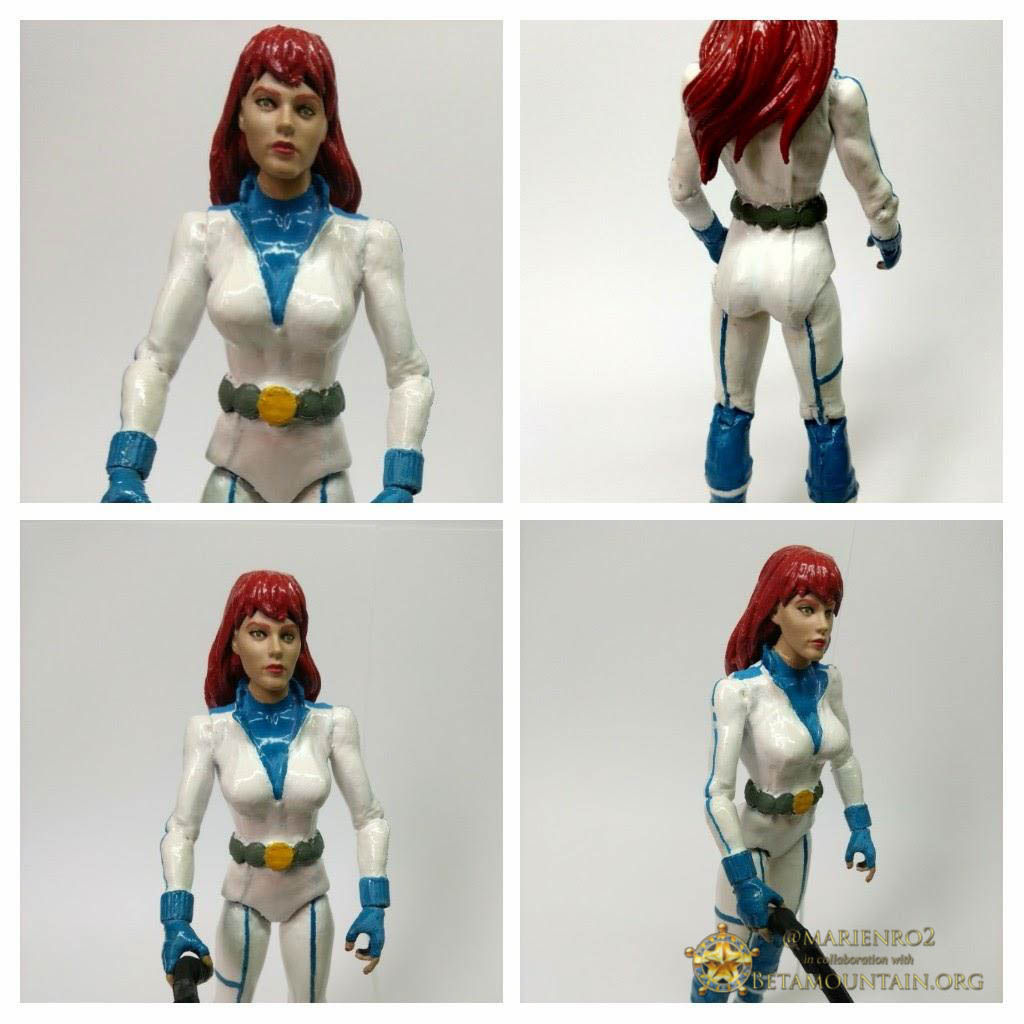
It seems incredible that they did not market the entire team and forgot about the “girl-ranger”. I completed the team with Niko thanks to a figure Black Widow from Marvel Select.
My internet search was immediately successful: I found it too easy and it was also sold here in Spain. I say this because to find and locate that "base" figure of Niko to complete the Rangers team (I do not mean Funko-Pop[1]) I had many problems: that figure was not marketed in all countries and some sellers do not perform the Shipping to Spain, or shipping costs were very expensive, or the seller did not give me confidence when making the payment.
|
|
|
|
|
|
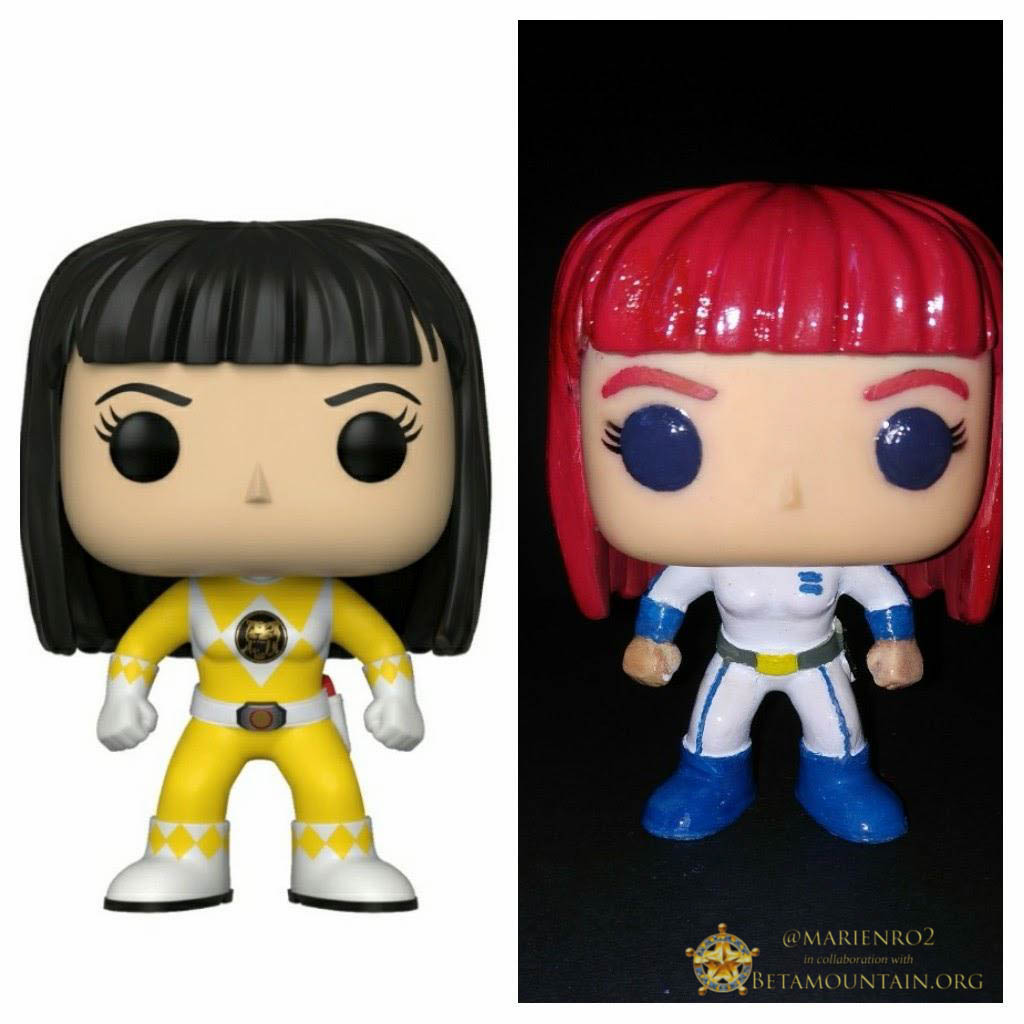
Once I was already clear about what figure my Niko was, I started working with her.It was not very complicated although it was laborious: it was the first Funko figure that I was going to modify.The small details and how to do them was like starting to assemble a puzzle: Where do I start and how do I do it?
Once I had finished my Niko and saw the result, which I loved, I inquired about whether there were other figures of the same series that could help me to form my team.
|
|
|
|
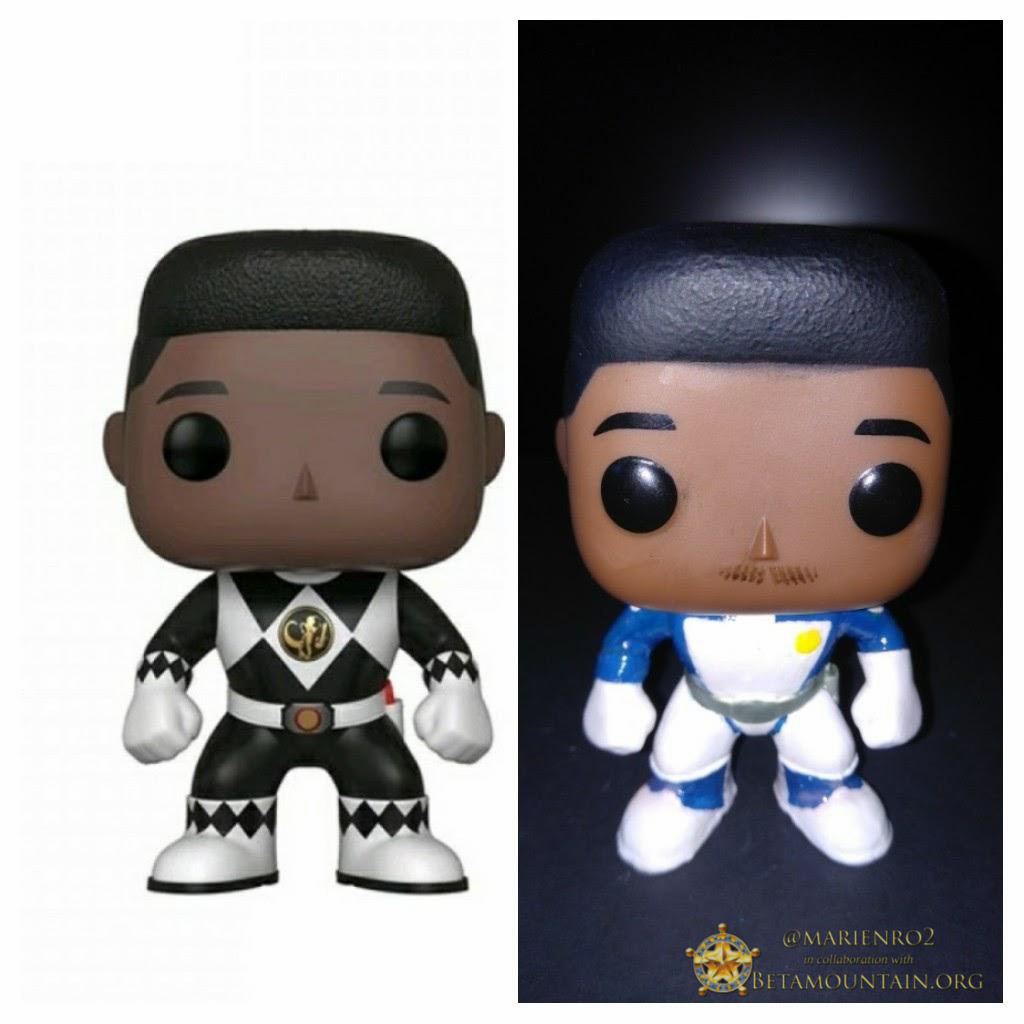
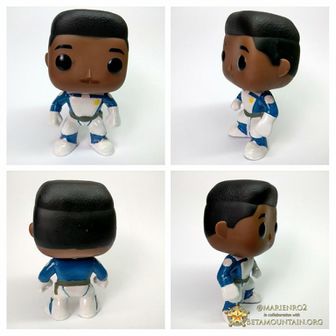
I found Doc's future figure, though without a mustache, and Zach's figure. They were from the same series: The Power Rangers. They were fit for transformation. With Doc I didn't have much to choose from: black complexion and nice print, so I had to settle for the little I found.
|
|
|
|
|
|
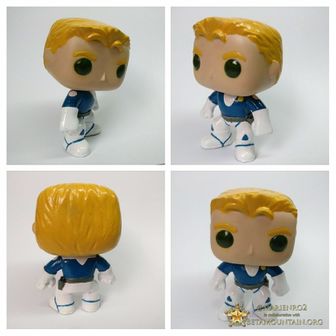
Zachery had to have a serene but calm countenance. Firm but friendly. His gaze was the key.
I already had 3 of the 4 figures to make my Rangers. In the end, these 3 figures I bought online and they are American! Through eBay, I found an American seller who had them on offer ( I bought 3 and paid 2) and also with free shipping. Incredible! You have to be patient and spend some time looking for some opportunity ...
The problem arose with Goose, since although there are more figures of the Power Rangers, none adapted to what I wanted for him.
|
|
|
|
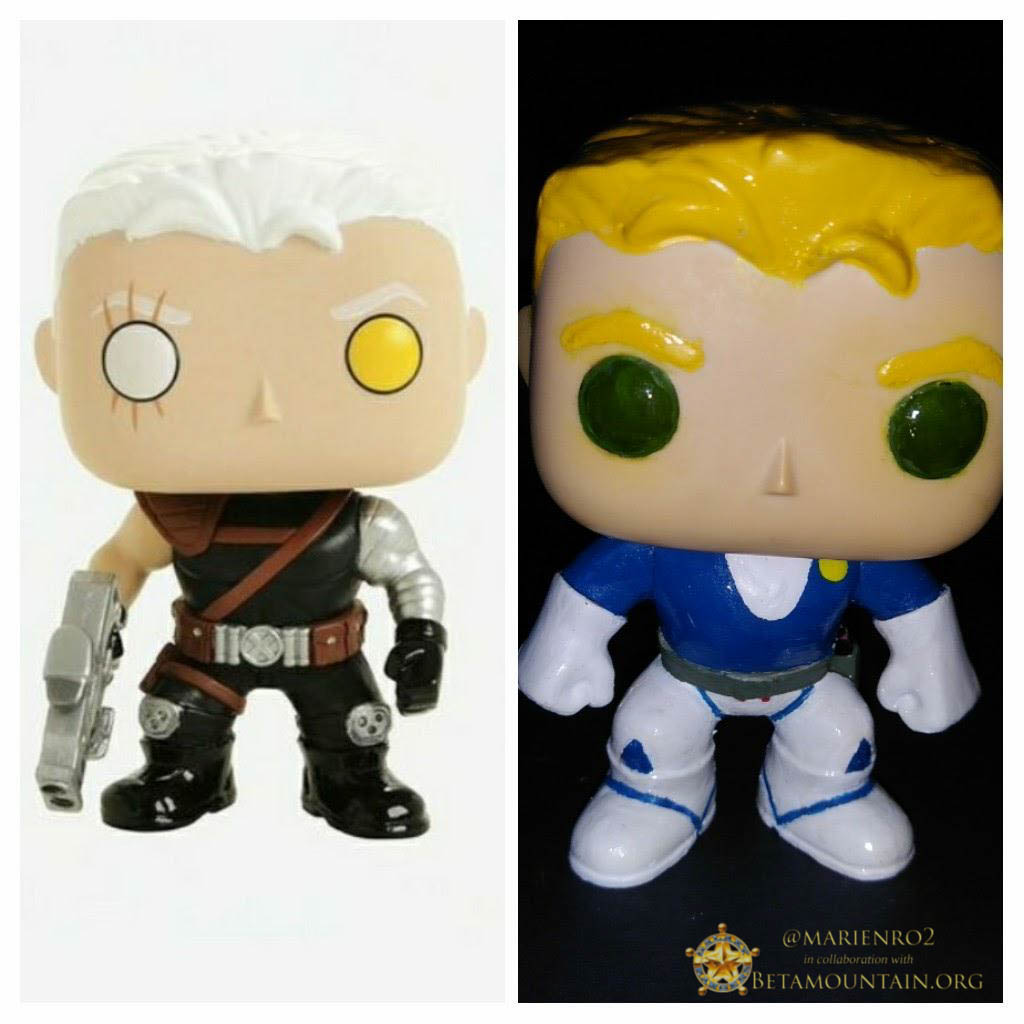
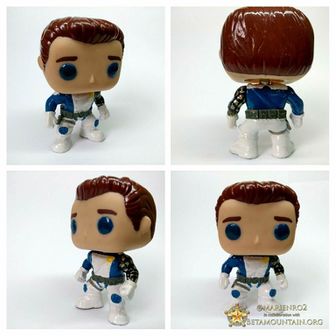
Goose had to convey "face of few friends" and he should be "the rebel" of the group. Angry eyebrows and a toupee with a tuft of fallen hair solved the problem. First I found this figure without a lock of hair and gave it as good for me, but when I kept looking, I found the same figure but with that lock of hair that reminded me that Goose had in some episode of the series. The base figure of Goose was "Deadpool Parody-Cable".
This Funko-Pop did take me a long time to find and locate a "fit" seller. In the end, this figure came to Spain from Turkey.
But my future Goose did not belong to the same series as the other 3, and his body was not valid: this body had many accessories that I had to cut, trim, sand and remove with a saw, a cutter, a nail file .. .; and still, you can appreciate the brands since I was afraid of breaking it and not being able to fix it (but so ... they give it character, don't it?).
And Goose's head had different colored eyes, one white and one yellow (it gave me problems because when painting the green eyes, they were not the same shade), with long eyelashes in one eye that reached his right eyebrow and even his cheek, which he had to make disappear. But how? I had to remove the eyelashes with nail polish remover, and as a consequence the right eyebrow disappeared, ... and also left a small shadow on that part of the brown face that I could not remove completely.
|
|
|
|
|
|
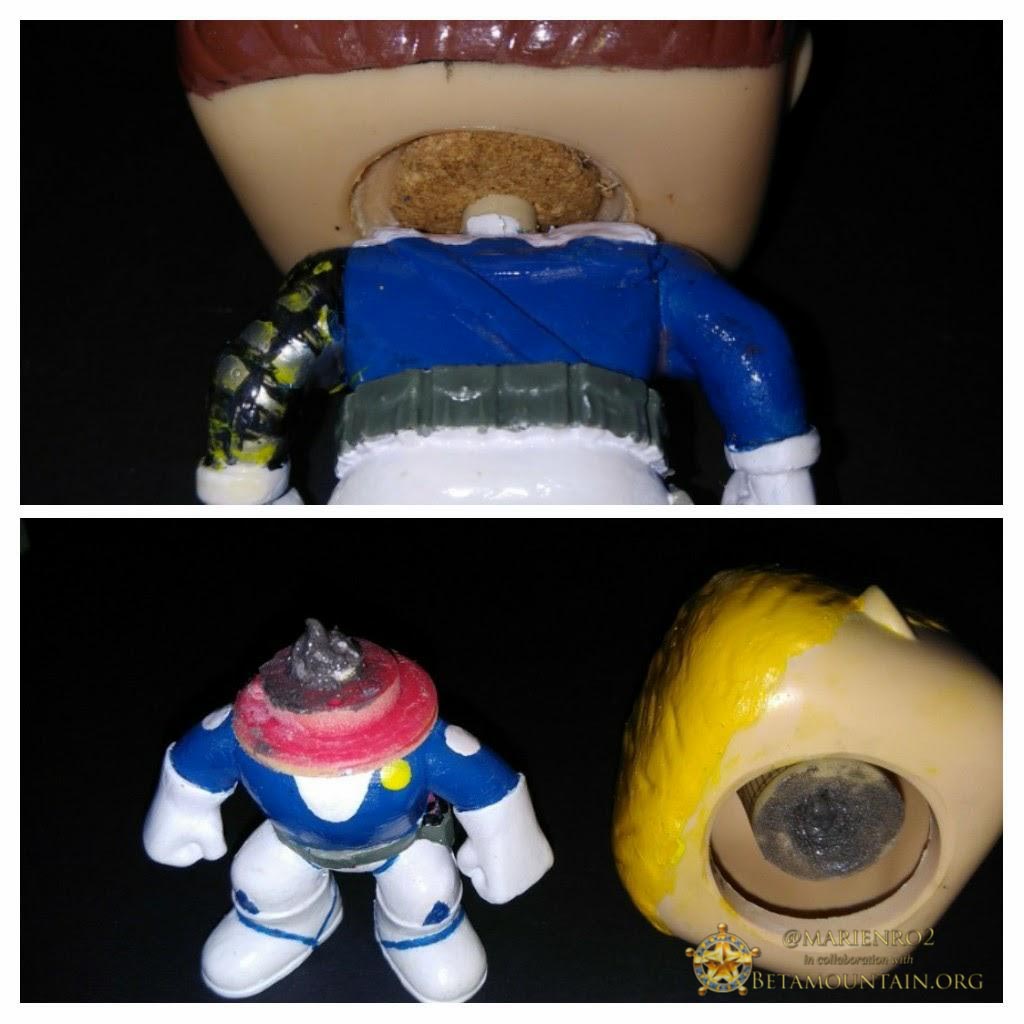
This different body would be for the captain, as a distinctive act from others. So I had to separate the heads of the bodies of the figures of Zach and Goose to exchange them. Since they were rubber and not hard plastic like the rest of the body, I did not immerse them in hot water thinking it would be easy to separate.
Result: the head restraints were broken and also were not equal. This was a big problem that I would have to solve in the end, yes or yes.
The normal thing would have been to immerse the figure in very hot water for a few minutes to easily detach the moving body parts. But in my first "prototype" of Niko, which I tried to do "all right" ... when trying to detach the arm to paint it with the airbrush, I broke the clamping piece (obviously because I did not do it well or because I had little time in hot water).
So I didn't try to do it at such a professional level: I didn't want to disassemble the limbs and paint them with an airbrush that I bought: I was afraid to break a piece, or not be able to fit them later; and also the airbrush did not help me because the painting, which is specific for modeling work ... that is, it is good for this type of work, it slipped; It slipped well because of the type of plastic material the figure was made of, or because I did not do it correctly.
So, I did everything at the user level, basic and primitive, or as I like to call him: HANDCRAFTED!
The heads, whose support bracket was not the same. One had the hole, which linked the body with the head, larger than the other. Result: the heads did not fit, one did not fit into the other body and the other head was resting on the shoulders.
Solution?? well ... a stopper of a bottle of wine. A cork stopper that held and where it rested, the inside of the head to the neck. Of course, I had to cut one to size because it was longer and wider than what I needed. And the other, I had to glue it inside the head because it was narrow ...
And a layer of transparent nail polish throughout the figure was the solution to remove the marks left by the brush, it served as a fixation and so that no peeling occurs afterwards. It is not to shine, but also.
|
|
|
|
Although the final result of the figures I give them as valid, they are neither perfect nor have an excellent paint finish. The ideal would be to use an airbrush: there are figures whose body were black and I had to give many layers of white to cover it completely.
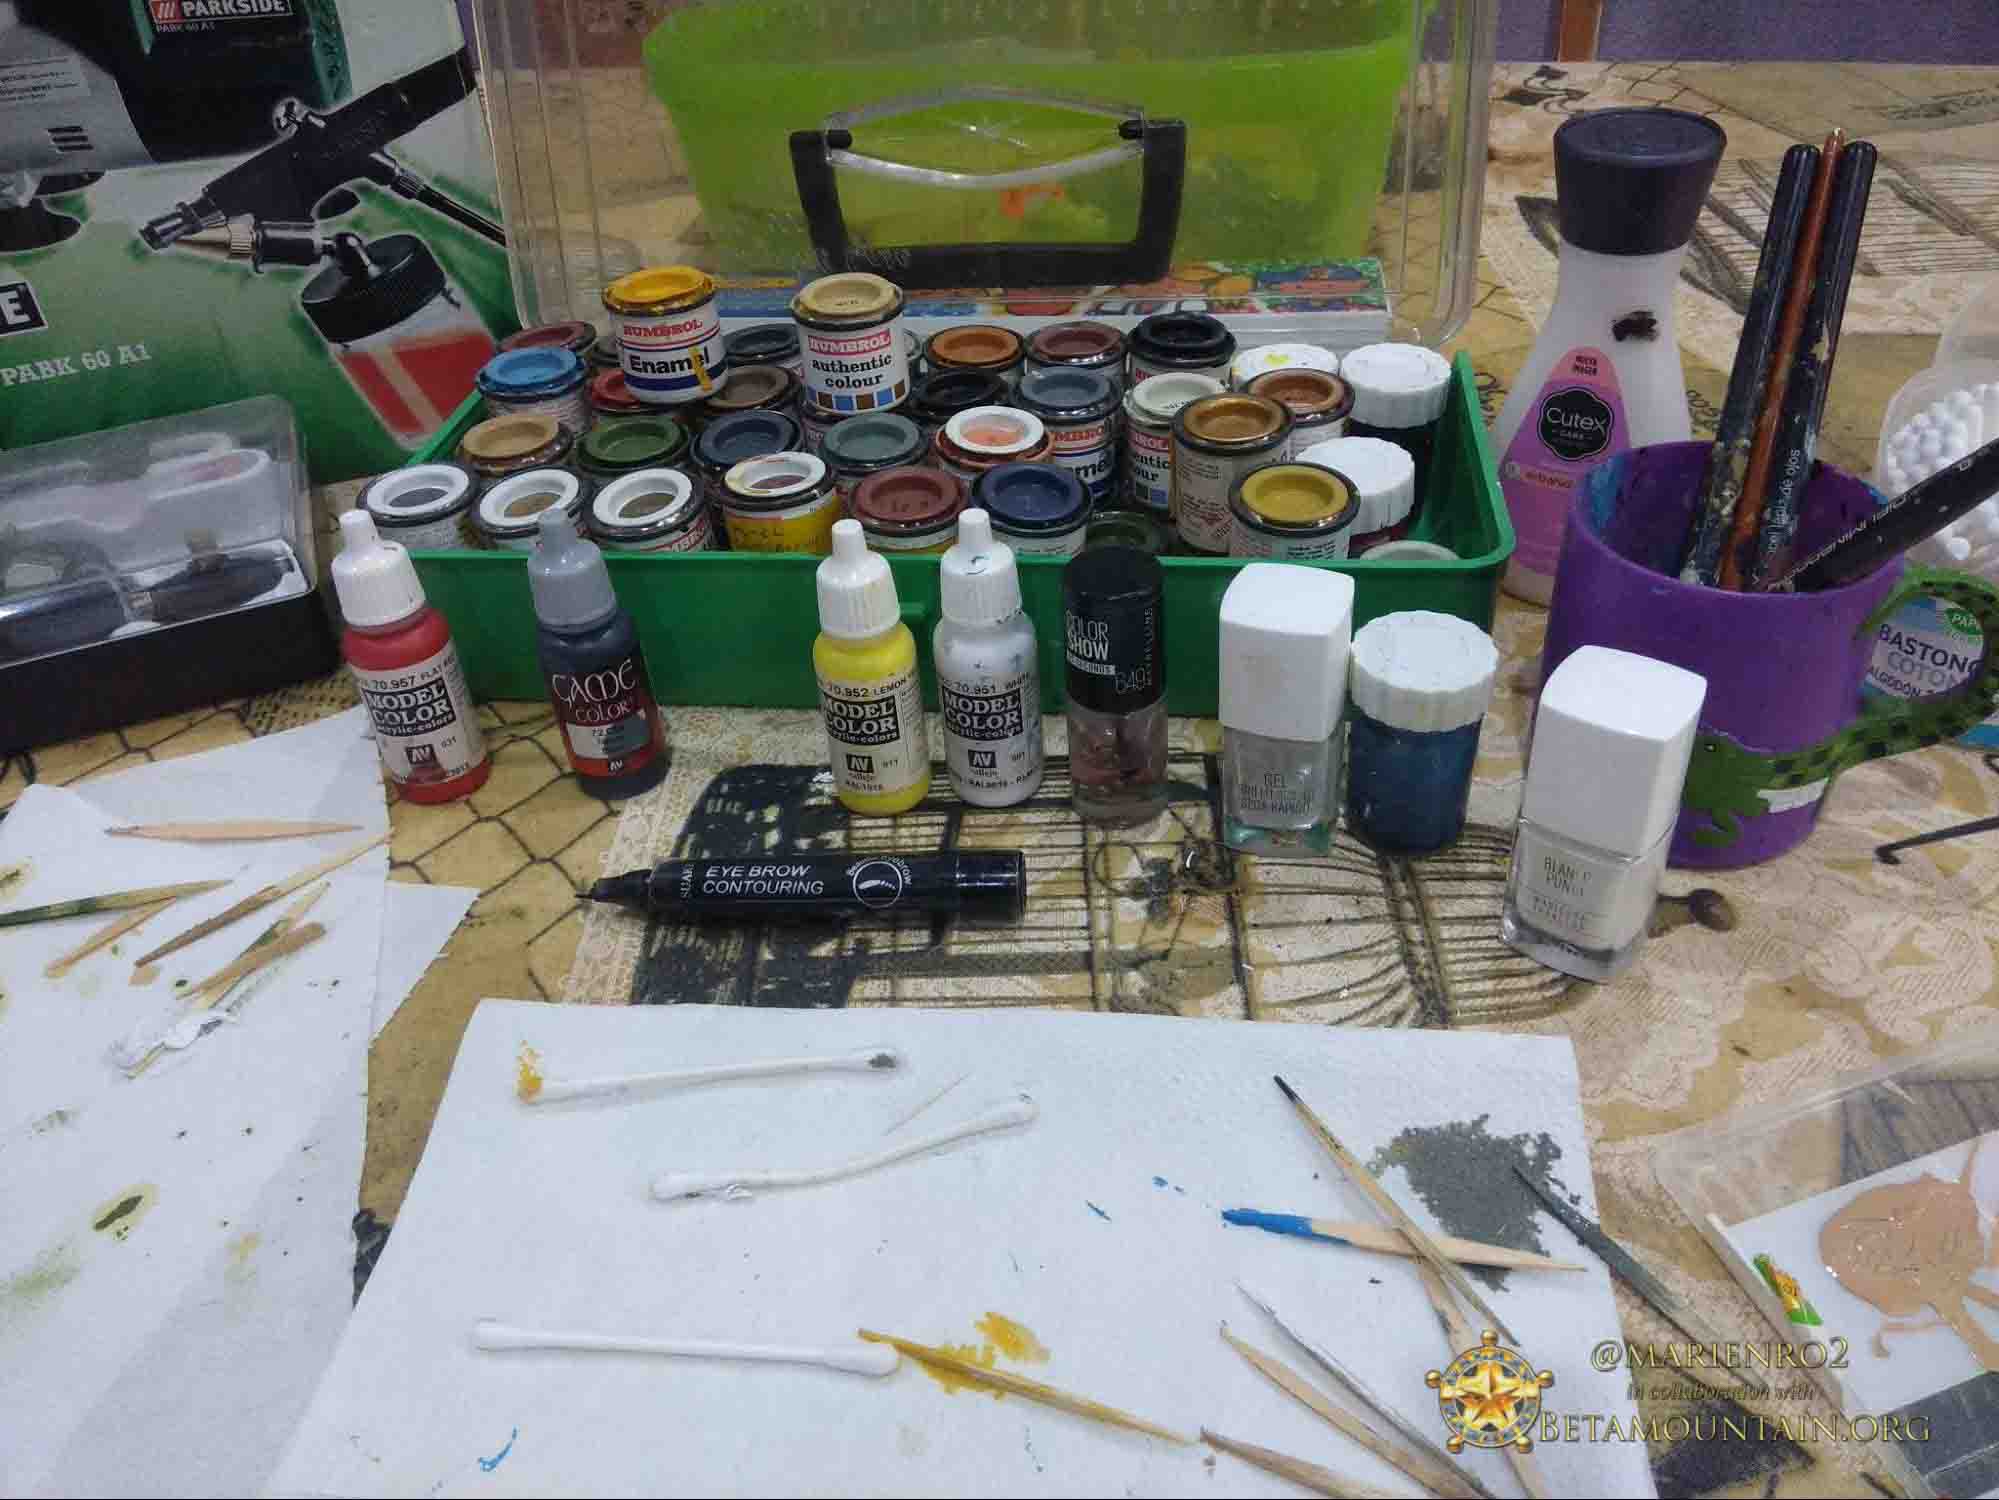
The blue color of the suits ... I had to make it: no blue boat was even similar. It took me a long time to mix blue, white, gray, green ... until I found the "blue-ranger". Luckily I managed to make enough quantity to paint everything I needed blue.
And when giving so many layers of paint to cover the original colors of the "base" figures ... the marks of the hairs of the brush were increasingly seen. At the end of the transformation I solved it.
The most delicate areas because of their small size were impossible to do with a brush, especially round shapes; Although it may seem a lie, I made these areas with a toothpick and an eyeliner (is it good to be a woman?). I mean the eyes, the badge, the belt, the blue trim of the uniforms, the eyebrows, the edges, the accessories of the uniforms and of the boots…
Already painted the figures, I only needed to finish the exchange of the heads of Zach and Goose ... and Doc's blissful mustache. For the mustache, a marker for tattooing the eyebrows with 4 separate and rigid spikes, it was the most “feasible” solution that I came up with (it is good to be a woman!) and a great plus. Also, having nail polish remover to correct mistakes, and removing makeup was infallible (for everything).
|
|
Conclusion
|
|
|
|
It is a good relaxation technique if there is stress, imagination, ingenuity, headaches as well ... but it produces an increase in huge self-esteem, pride, satisfaction ... being able to say:
"They are not only mine , but I made them. ”
They are NOT PERFECT.
|
|
|
|
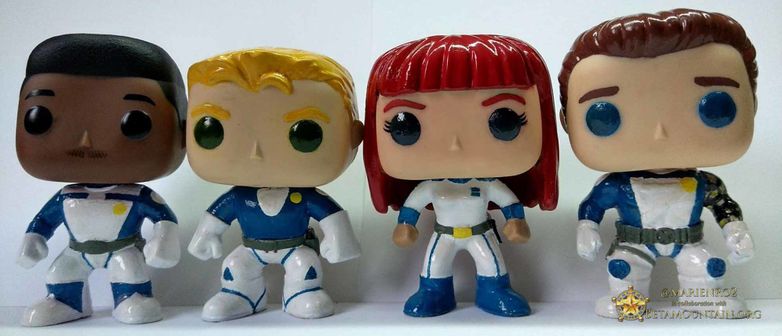
But now, the 4 “FUNKO-RANGERS” of the GALAXY RANGERS Series 5 team already exists. And besides, I also completed the team with a Niko and a Goose with the black uniform. And although there were times when it was an odyssey, a challenge, a disaster ... all this ... seems easy, doesn't it? well ... yes it is !!!!!
|
|
I present the Series 5 team Funko-Rangers
TEAM GALAXY RANGERS
Captain Zachary Foxx
Niko
Shane "Goose" Goosman
Walter "Doc" Hartford


- ↑ Funko and Pop! are registered trademarks of Funko, LLC.
